How to Properly Remove a Radiator
How to Properly Remove a Radiator
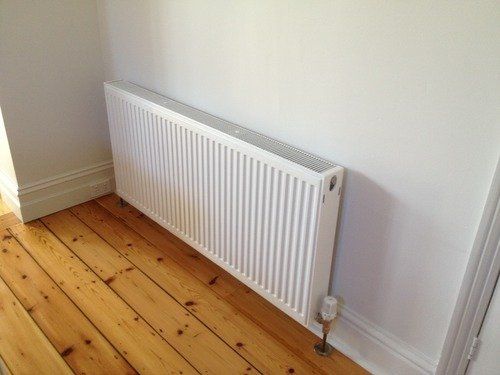
There are certain instances when removing a radiator can make life easier. For example, when replacing the skirting boards or floor, when renovating or redecorating, when cleaning behind a radiator, when adding foil to the heat reflectors and many more. Contrary to popular belief, removing a radiator is not a difficult task and can be completed by a competent DIYer without having to call on a team of plumbers to do it for you! Here's some information on how to properly remove a radiator.
Tools that You'll Need
To properly remove a radiator, you will require specific tools including:
• a radiator bleeding key • towels and a sponge • an adjustable spanner • a pair of adjustable grips • a painters rolling tray
What Type of Heating System Do You Have?
Before you begin removing the radiator, it is important to consider what type of
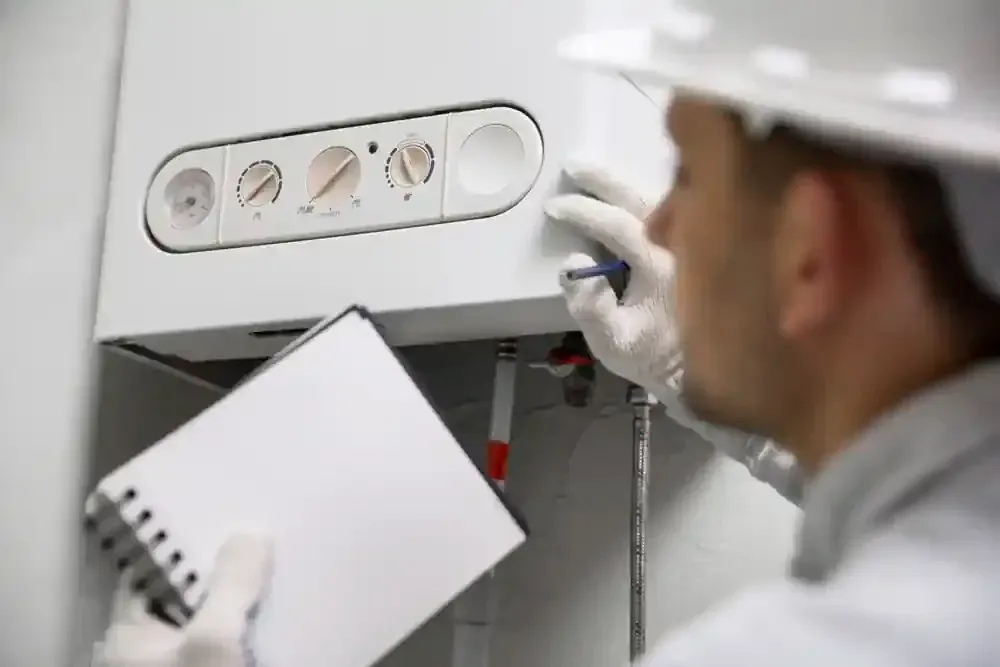
heating system is being used in the house. If you are uncertain, check for a dial on the front of a boiler, in the loft or in the airing cupboard. Any dials represent a pressurised heating system. This is significant because you will need to depressurize the system when replacing the radiator. If, however, you have a tank, then you will not need to worry about pressurizing the system.
How Do I Properly Remove the Radiator?
1. Close The Valves
The first step to properly remove a radiator is to close the radiator valves found at the side of the radiator. This is also known as the lock shield and must be turned to the right to shut down. When the valves are closed, you will need to bleed the radiator using the radiator key. This is done to ensure no water leaks from the radiator during removal. Undo the valve to bleed the radiator, and when the water is removed it is time to continue with the next step.
2. Drain The Radiator
Use the grips and spanner to hold the valve and loosen the nut on the radiator side. A small amount of water should leak out, and this will ensure the radiator is drained. It is recommended that you place the tray underneath the radiator to catch all the water and soak the stray drips using a towel.
3. Remove The Radiator
When the water is completely drained, you can remove the radiator from its brackets. Before removing the item, slacken the other end of the radiator and complete step two. Finally, pop the radiator off its clips or brackets, and you have officially removed a radiator.
Rather have a professional plumber do this for you? Then call Assett Plumbing on 01604 372395 today.


