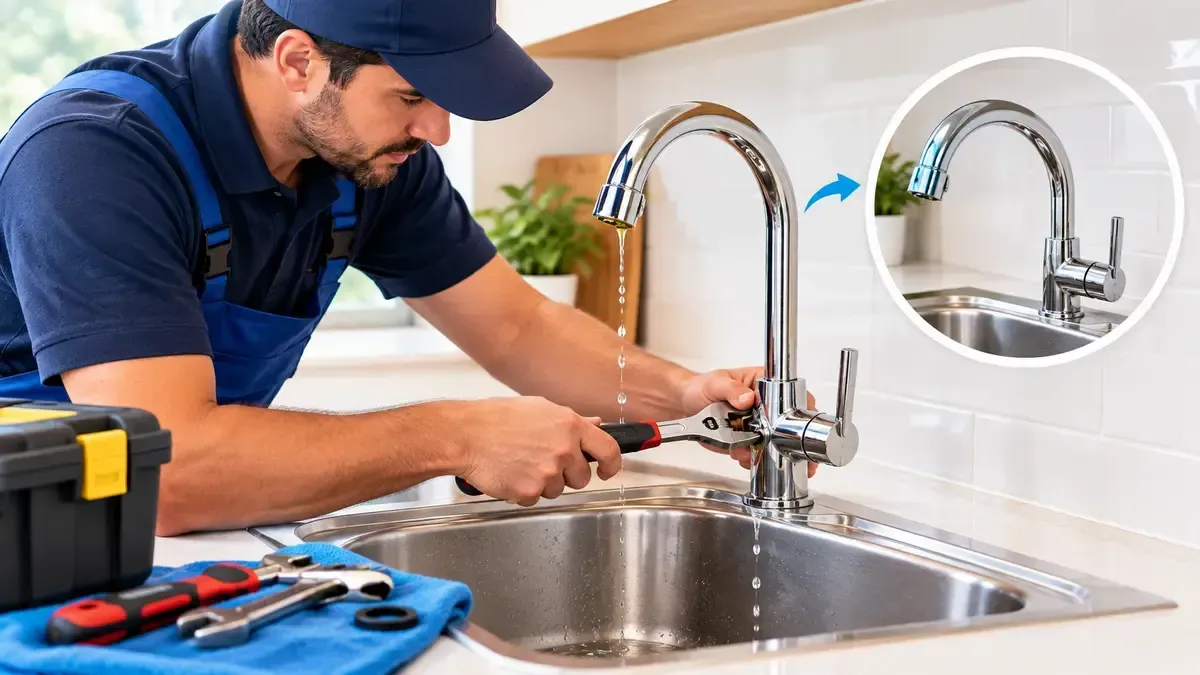
How to Use Plumber's Mait: Common Mistakes to Avoid During Repairs
A small plumbing leak can quickly escalate into an annoying and costly problem if the proper sealing method isn't used. Plumbers' Mait also known as plumbers' putty is a soft, pliable sealing compound commonly used around sinks, drains, and faucet fittings. Unlike adhesives and certain types of caulk, it remains flexible after application; this makes it ideal for situations requiring a watertight seal where the fixture might need to be removed later. However, if a leak suddenly worsens or causes significant water damage, contacting an Emergency Plumber can help prevent the problem from becoming more serious.
However, using too much or too little putty, applying it to an unsuitable surface, or using it on pressurized connections can lead to leaks or damage. Knowing how to prepare the surface, shape the putty, position it correctly, and tighten the fitting evenly can make a significant difference.
In this guide, we explain how to use plumbers' putty correctly, highlight common mistakes to avoid, and outline when the services of a professional plumber might be necessary.
What Is Plumber's Mait?
Think of a plumber's putty as the modeling clay of the plumbing world. It is soft, easy to shape, and stays that way for years. You press it between two rigid parts, tighten them together, and it fills small gaps to keep water out.
What makes this putty special is that it never hardens completely. While silicone turns solid and tears when you try to remove it, plumber's putty remains flexible, allowing you to take the joint apart later without damage. It also provides immediate resistance to pressure. You don't have to wait for it to dry or cure; once applied and the joint is tightened, you can turn the water on immediately.
Most varieties handle a wide temperature range from very cold to very hot making the putty suitable for almost any household plumbing job. It resists water and mild household chemicals, and it won't shrink, crack, or become brittle over time. Its flexibility is its greatest strength.
Where You Use Plumber's Mait
Plumber's mait shines when it sits between two smooth, rigid parts that clamp together. You mostly reach for it in these jobs:
- Fitting a sink basket strainer
- Sealing a faucet or tap base
- Installing a shower drain or a pop-up tub drain
- Sealing a drain flange to a basin
In each of these spots, the putty fills the micro-gaps that the parts cannot close on their own. It keeps water where it belongs and wipes away clean, leaving no mess on the outside of the fixture.
What You Need Before You Start
You do not need a full toolkit for this job. Set out a few basics before you climb under the cabinet so you do not keep popping back up. Here is a simple checklist:
- A tub of plumber's mait
- A clean rag or two (one damp, one dry)
- A putty knife or an old plastic card for scraping
- A bowl of warm, soapy water
- Paper towels
- Gloves if your skin is sensitive
Keeping everything within arm's reach makes the whole job smoother and faster. If you are preparing for a Burst Pipe Emergency, keep a bucket, towels, and your main water shut-off location in mind as well, so you can quickly control water flow if a more serious leak occurs during a repair.
How to Apply Plumber's Mait Step by Step
Once your tools are ready, the process is quite simple. Follow the steps below to achieve a clean, leak-free seal.
First, clean the surface thoroughly. Remove any old putty or caulk, then wipe the area until it is completely clean and dry. A dirty or greasy surface prevents the putty from adhering or sealing properly, making this step more important than people often realize.
Next, take a golf-ball-sized piece of putty and knead it in your hands for about thirty seconds. This warms the putty, making it soft and pliable. Roll it between your palms to form a smooth 'rope' shape, approximately half an inch thick. If cracks appear, knead it a little longer.
Then, wrap this rope of putty around the underside of the drain flange or the base of the fixture. Press the ends together to form a complete ring, ensuring there are no gaps or thin spots. Position the fixture in place and tighten it gently and evenly by hand.
As you tighten it, you will see a thin layer of putty squeezing out from the edges. This extrusion indicates that the seal is working correctly. Wipe away the excess putty with a cloth, then turn on the water to check for any leaks. This method is suitable for most flanged drains.
Plumber's Mait vs Silicone: Which One to Grab
People often confuse plumber's putty with silicone, but they are quite different; making the wrong choice can lead to problems.
Plumber's putty does not require drying time, so you can use the fixture immediately after application. In contrast, silicone can take hours to cure before becoming water-resistant. You can clean off excess plumber's putty by hand, whereas silicone requires a chemical remover. Furthermore, plumber's putty does not form a permanent bond, allowing for readjustment, while silicone requires a fresh coat if it is cleaned off or removed.
There is another key difference: silicone is affected by sunlight and environmental conditions, which can cause it to deteriorate over time. Plumber's putty is generally best suited for indoor use. Here is a simple rule: use putty when you might need to disassemble the fixture later, and use silicone when you need a permanent, completely waterproof bond or are working with plastic or acrylic materials.
About Assett Plumbing, our experienced team can help you determine the right sealing method for your plumbing fixture and provide professional assistance when a repair requires more than a simple DIY solution.
Common Mistakes to Avoid During Repairs
Most issues related to plumber's putty arise from a few common mistakes. Keep the following points in mind:
- Using it on the wrong surface: Standard plumber's putty is oil-based; therefore, it can stain porous stones like granite, marble, quartz, and sandstone. It can also warp or soften plastic and acrylic components. Many shower pans are made of acrylic, so check this beforehand. If your surface is porous or made of plastic, use a non-staining, oil-free putty instead; this ensures a good seal while protecting the appearance of your countertop.
- Using insufficient putty: Using too little material leaves gaps, creating a risk of water seepage. Plumber's putty is inexpensive, so use it generously. If you do not see putty squeezing out while tightening the fixture, you likely used too little. Remove the fixture, add more putty, and tighten it again.
- Using it on a dirty or wet surface: Old sealant, grease, or soap residue can compromise the effectiveness of the new seal before it even sets. Always clean and dry the surface first.
- Overtightening the fixture: Using excessive force is not always beneficial. Tightening the fitting too hard squeezes out all the putty, leaving nothing to form a seal. This places undue pressure on the putty, which can cause it to fail prematurely. Tighten gradually and stop when a uniform bead of putty appears.
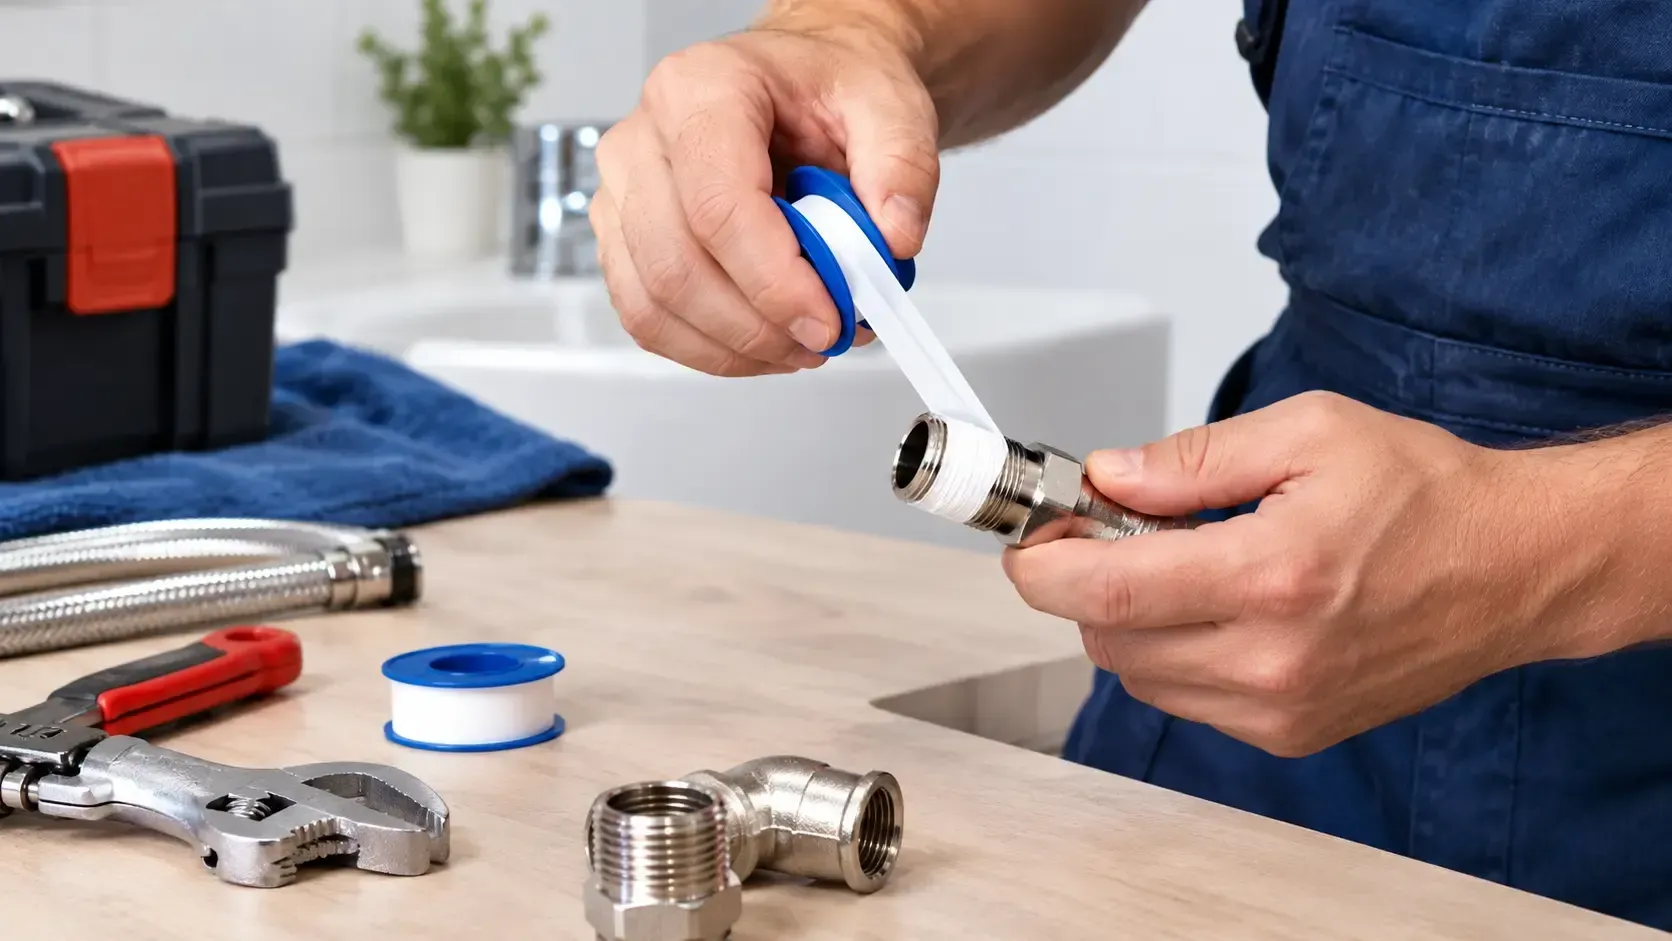
- Regarding use on pressurized pipe threads: Plumber's putty is designed only for non-pressurized connections. It is not suitable for threaded pipe joints subject to water pressure or for fittings that use gaskets. For threads, you will need thread tape or a suitable pipe sealant instead.

Quick Fixes When the Seal Fails
Even with careful work, minor issues can arise. Most problems can be easily resolved without starting over.
If you do not see putty squeezing out, you have used too little. Loosen the fixture, add more, and tighten it again. If the bead appears on only one side, it indicates uneven pressure. Loosen the fixture, center the flange, and tighten it gradually much like tightening lug nuts on a car wheel. If the rim looks messy after cleaning, wrap a damp cloth around your fingertip and run it along the edge for a clean, factory-style finish. For more complex plumbing problems involving Central Heating Systems, however, a professional assessment is advisable rather than attempting a temporary putty-based fix.
Cold weather can make the putty stiff and difficult to shape. Warm it in your hands for a while, or place the closed tub in warm water for a minute. In cold conditions, it also helps to wait about ten minutes after installation before checking if the fixture needs another slight turn to ensure a perfect seal.
Storing Plumber's Mait So It Lasts
Air is the enemy of plumber's mate. After finishing the job, close the lid tightly and store the container in a cool, dry place. With proper storage, the putty remains soft and usable for a long time (often up to two years). If the container is left open, the putty dries out, begins to crumble, and loses its ability to form a seal. If you open the container and find a dry, crusty layer on the surface, simply remove that layer; the putty underneath will still be usable.
When to Call a Professional
A plumber's companion is excellent for minor DIY repairs, but it doesn't solve every problem. Some tasks require a trained plumber. Call Plumber services when dealing with pressurized connections or gasketed fittings, as they require special sealants to hold under pressure. You also need expert help for major installations, persistent drainage issues, water with an odd taste or discoloration, or frozen and burst pipes. These indicate deep-seated problems that require the right tools and expertise. The team at Assett Plumbing handles these complex repairs daily, so you don't have to risk water damage through guesswork.
Why Choose Assett Plumbing for Plumber's Mait?
When a repair goes beyond a simple seal, you need a plumber you can trust. Assett Plumbing is a family-owned, Trading Standards-approved team that has been keeping homes in Northamptonshire warm and fully functional for over 30 years. Our friendly, CRB-checked engineers handle everything from emergency leaks to boiler repairs, servicing, and complete central heating systems.
We aim to get back to you within an hour, and we never charge a call-out fee, so there are no nasty surprises. You receive a clear, written quote before any work begins, plus a 12-month guarantee on all work for complete peace of mind.
We proudly serve Northampton, Kettering, Wellingborough, Corby, Rushden, Thrapston, Oundle, Huntingdon, and St Neots So, whenever a plumbing problem seems too big to handle, the local experts at Assett Plumbing are ready to help.
Final Thoughts
Plumber's putty might seem like an old-fashioned product, but it has stood the test of time because it truly works effectively. It seals quickly, cleans up easily, and allows joints to be disassembled without hassle whenever needed in the future. Using it effectively is simple: clean the surface, roll the putty into a simple 'rope' shape, apply a generous amount, tighten gently, and ensure it squeezes out evenly under pressure.
Avoid common mistakes, keep the putty container securely sealed, and you will be ready whenever a drain or faucet needs repair. And when the job goes beyond simple sealing and requires more extensive work, the experts at Assett Plumbing are always ready to assist you and get your plumbing running smoothly again.
Read More: How Does a Plumber Find a Water Leak Underground
Frequently Asked Questions
Does Plumber's Mait need time to dry?
No. In most cases, you can use the fixture immediately after installation. In cold weather, wait about ten minutes and check if the joint requires any minor adjustments.
Can I use Plumber's Mait on plastic pipes?
It is best avoided. Plumber's Mait can soften or deform plastic and acrylic parts. Always check the fixture's instructions; if the manufacturer advises against using putty, use a suitable sealant instead.
How long does Plumber's Mait last in the container?
If stored in a cool, dry place with the lid tightly closed, it can remain usable for up to two years. Once it dries out and begins to crumble, it can no longer seal effectively and should be replaced.
Can I use Plumber's Mait on threaded pipe joints?
No. It is designed for non-pressurised, clamped seals. For threaded joints, use thread tape or a suitable pipe sealant instead.
You might also like